
I am big on planning and organizing certain aspects of my life; gardening is one of them. I like to make sure that I know exactly what I’m planting and how many of each crop I’ll have so that when gardening season rolls around, I’m not scrounging for seeds and researching crops at the last minute, especially if I want to try growing a new crop that season. I would hate to be right at the start of the season, only to find out that a new crop I want to grow should’ve been started indoors or directly sown outside. Planning also helps me to maximize the amount of space that I have available to get the highest yield and the best variety of crops without overcrowding my gardening space. Each year, I follow a set list of steps that have been tried and true with making sure that I am fully prepared for the coming season.
Here is a list of steps that I follow when planning for the coming gardening season:- Know your gardening zone and when the planting season starts in your area.
- Decide which crops you want to grow and which crops grow well in your zone.
- Designate your growing space.
- Research each crop you plan to grow.
- Follow the “square foot method” for mapping out your crops.
- Optional companion planting for more crops while minimizing pests.
- Gather your seeds.
- Know Your Gardening Zone
1. Know Your Gardening Zone
Even if you’re an experienced gardener, staying up to date on your area’s climate and gardening zone is important for growing strong, healthy crops. The best way to look up your current gardening zone is through the USDA Interactive Map. Keeping this knowledge in mind, you’ll be able to reschedule crops that need to be grown earlier or later in the season and weed out crops that won’t be able to grow well in your area.The Farmer’s Almanac is also a great tool for researching your crops. Just enter your zip code, and you’ll have a full planting calendar ready to go, with date ranges for indoor seed starting, transplanting, and directly sowing seeds. This is my go-to resource that I use all throughout the season for checking recommended dates for planting and plant care based on current weather trends.

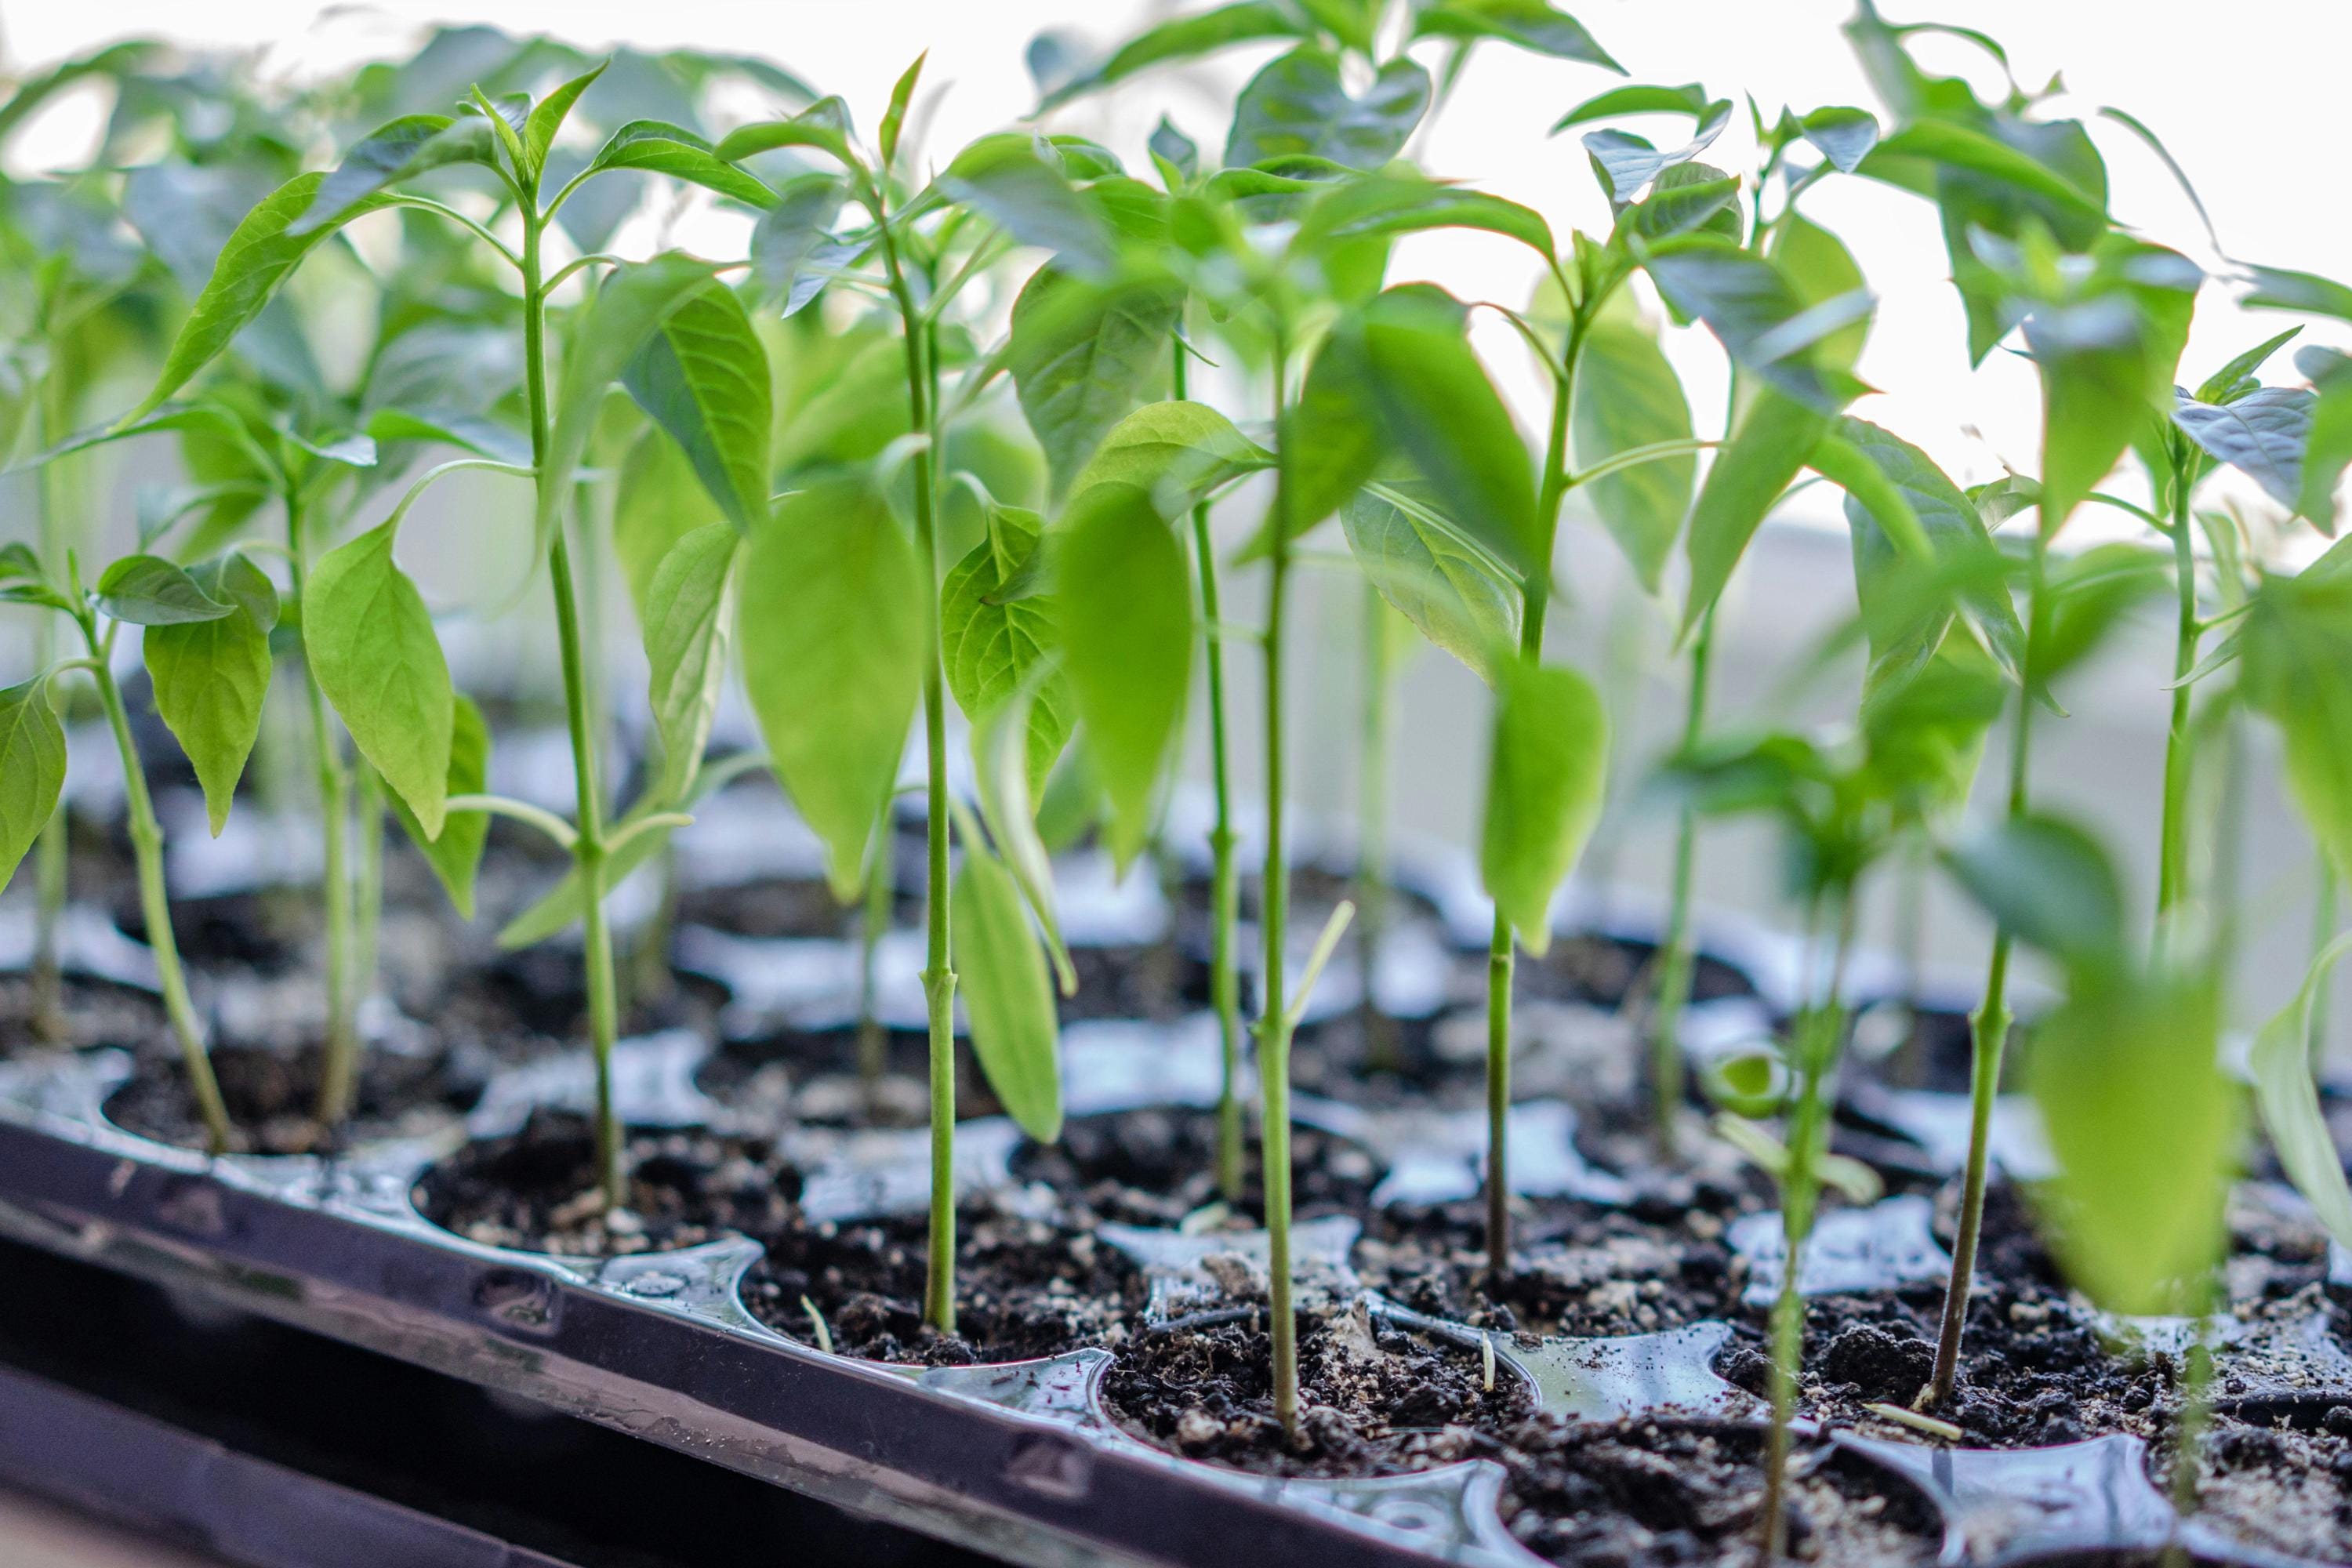
Once you’ve researched your gardening zone, it’s time to decide what crops you want to grow. A good rule of thumb that I go by for this is making a list of crops that I already use on a regular basis and any new fruits or vegetables that my household has been using more often. My family loves peppers, and I use tomatoes a lot in my cooking, so those automatically make it to the list every year. We also use a lot of herbs for culinary and medicinal purposes, so I definitely made sure to have green onions, basil, and parsley on the list. You don’t have to be so precise with the list right now. This is really just the brainstorming part of the whole process. Over the next few steps, you’ll be able to narrow things down and have a more concise plan on what you’ll be growing. You may want to add crops that you’ve never grown before or maybe a vegetable that you want to try but can’t find in any of your local markets. This step is all about getting all those great ideas down on paper. Who knows? If you can’t plant something this season, next season is always a possibility.
3. Designate Your Growing SpaceThis next step is all about figuring out where all these crops are going to go! How much space do you have? How much of that space will be dedicated to gardening? These are the questions you need to ask yourself when going through this step. When I first started gardening and homesteading, I only lived in a one-bedroom apartment with a husband and an infant. The only space I could really afford to use without overcrowding myself was our balcony. In addition to that, I didn’t want to sacrifice my son’s playtime in that area, so only half of the balcony space could really be dedicated to gardening. Having this space be fully dedicated to the one task helped me better map out how I could plant my crops without overcrowding myself and ultimately getting myself overwhelmed. During this time, I used pots and old plastic containers for growing my crops and only stuck to the fruits and vegetables that I knew we would use more often in the house. I also did a little bit of indoor gardening for the smaller crops, like herbs, that I know take up minimal space and could stay out of a baby’s reach.Homesteading, specifically, doesn’t have to be a large plot of land with enough crops to feed a community. It’s about doing what you can for your household and using the resources you have available at the time. That looks different for everyone. If you have half a balcony to work with or a large, spacious backyard, that’s okay! Mark off the space you want to work with and designate that space to your crops.
Now that you’ve figured out where you want to grow your crops, you can decide if you have enough space to grow everything, or maybe you have to take some things off the list this season. The goal is to maximize the space you have for a high yield and a nice variety of crops. If you have a small household, start small. For example, one cherry tomato plant provides a yield all season. Pick some of the fruit early and let them ripen inside to encourage the plant to flower more. Garden bags are also a good option for larger crops that need a deeper root system. They take up minimal space and hold water really well. These are very popular for growing root vegetables like carrots and potatoes. Vertical planting is also an option if you don’t have a lot of floor space for growing crops. Though this may take a bit more money to buy, strawberry pots can be stacked on top of each other, and you can grow all different crops in each section.If you have a bit more space and can use garden beds or even an in-ground garden, you could be a little more lax with the amount of crops you can grow. Although, you should still be cautious about growing crops together that could hurt rather than help the neighboring plants. Nonetheless, you still want to know how big of a garden space you plan to use so that you don’t overcrowd the area. Using the “square foot method” is a great tool for evenly spacing out your crops and getting a high yield with the space you have.
5. Using the ‘Square Foot Method’The ‘square foot method’ in gardening is the process of dividing your garden space into 1-foot squares and using each square for a specific crop. Each crop has a certain number of plants that can fit in each 1x1 ft square. This allows enough space for the plants to adequately grow while still fitting as much as you can in the space that you have. For example, tomatoes and peppers should be planted one per square foot, while herbs like cilantro and green onions can be planted 9 per square foot. This is really the most research you’d have to do for the whole process (if you aren’t companion planting) because you want to make sure you aren’t planting too many of a single crop in just a one-foot square. When you’re transplanting or directly sowing your seeds, it will definitely look like you have more space to plant, but as the seeds start to sprout and really take root, that 1x1 square will look like it should’ve been bigger!When I moved into my first home, I built an 8x4 garden bed in my backyard and used the square foot method for spacing out my plants. By doing that, I was able to plant 8 different vegetables and 7 different herbs in just that amount of space. From that, I was able to cut down on my grocery bill and even had enough produce to save for the colder months. If there are some crops that you plan on planting every year, I would definitely try to write down or remember how many of that crop can fit in a single square to help you cut down on the research time.In using the square foot method, I was aware that I would be putting crops together that aren’t typically planted near each other. Because of this, I delve into the topic of companion planting. This method also helps you maximize the variety of plants that you could use in your gardening space.
Although this step is mostly optional, this practice can prevent a lot of headache so far into the gardening season. Companion planting is the practice of planting crops near each other to help benefit the neighboring plant or planting crops far away to keep them from hindering the growth of each other. There are several different ways that nearby plants can benefit from one another, like providing a certain nutrient to the soil or repelling an insect that could be harmful to another plant. On the other hand, some plants, like root vegetables, really shouldn't be planted in close proximity because they might hinder each other's growth by fighting for nutrients in the soil or physically, by just fighting for space, leading to a smaller and less fulfilling crop.A good example of companion planting is the popular trio, known as the ‘Three Sisters,’ which consists of corn, beans, and squash. These plants are beneficial to each other because they all can be planted close together for benefit rather than hurting the growth of the next plant, and they don’t fight for nutrients or space in the garden area. The beans are a vining plant and can use the stalk of the corn crops as a trellis, while the leaves from the squash provide a balanced shade for the soil that allows for better water retention and nutrient absorption. Basil and tomatoes are great companion plants because they have similar soil needs, and the basil helps to repel insects that are harmful to the tomatoes. Similarly, garlic helps to repel aphids from many different crops like potatoes. Use these methods to decide how you’ll plant your crops and which crops you’ll plant together for a better crop yield.
So, you’ve done all the research and devised the most detailed, thought-out plan. The only thing left to do is gather your seeds. If you’re a little closer to the start of the season, you may be ready to start some seeds indoors, or maybe you like to start planning early and still have a couple of months before the season actually starts. If so, it doesn’t hurt to further prep by getting all your seeds together that you plan to use.I hope this information was thorough enough to get you started on your gardening or homesteading journey. Just keep in mind that whatever space you have, even a single plant is a step in the right direction. Already an experienced gardener? Share your experience below and exchange some of your favorite tips! We want to build a thriving community at Earth&green. Have Fun and Happy Homesteading!